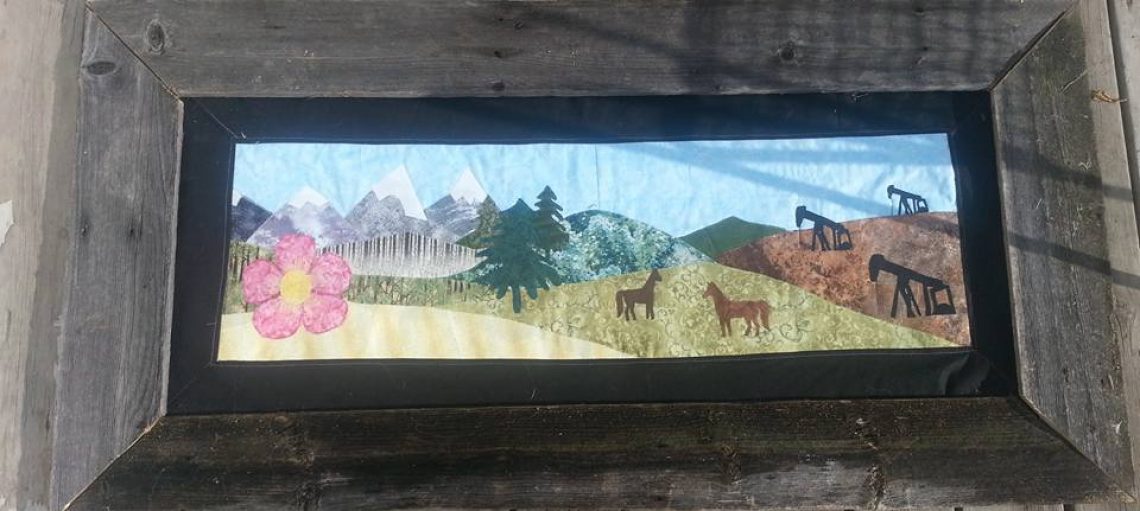


 The first quilt that i ever made using Y seams was a panel and doing attic windows.I saw a pictue somewhere. I dint want it to be just the regular way I wanted it to have a central perspective in my angles. This required me to adjust the angle of the way the window panes met. I’m not going to go into how I did this because I don’t think I could explain it even if I tried unless I showed you. This is the quilt I made, I call it “Quebec’s Back Yard” It was originally destined to be a lap quilt for my husband but of course like all quilts it got away from me and ended up being too big for the living room. It now has a designated spot on the wall next to his side of the bed. I did enter it into the 2014 Pins and Pine Needles Quilt show and it took home a ribbon for best use of orange. It also tied for 1st place in viewers choice against a Mariners Compas quilt by Judy Neimmeyer. The guild voted to break the tie, I understand that my quilt was not as labour intensive as hers and why she won after all I “whipped” mine up in an afternoon. This was the 1st quilt show that I had ever entered so I was pretty proud of myself for making it this far.
 The Next project with Y seams was for my 9 year old son. One day he asked me to make him a quilt. Not just any quilt he had requests…. “Mom can you make me a quilt that is orange with cats. And I want minky on the back” Ok my 1st thought was orange and cats how do I make this not look too halloweenish? Where do I find the fabric? About 3 years ago I went to The Creative Stitches craft show in Edmonton. Looking around I found a booth that was selling bundles of fat quarters. This particular bundle had Orange, Green, and Teal fabrics. Perfect bought it up right away. Now to the drawing board what am I gonna make with just 3 colors? Why not a tumbling block quilt… Perfect. So I cut the fat quarters in strips and into diamonds. Sewed them all together. I how had the orange but how do I add cats? Why not silhouettes of cats in different posies. Perfect. I called it “Kubic Kittens” link to pattern.
Not only did I not realize that the complete quilt was done with Y seams. I could have done the blocks with half square triangles but I didn’t want to cut up fabrics. The key to Y seams as far as I’m concerned is not to sew to the ends… leave 1/4″ from each end of your seam.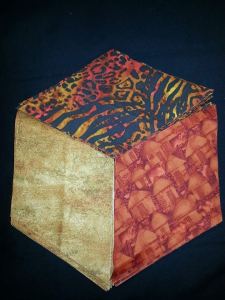
Leaving that 1/4″ gives you room to start and stop without sewing over the other fabrics when joining them together.
Here is an example of joining one block together.
Joining the first 2 fabrics is easy just sew 1/4″ from start to 1/4″ to end.
When I add in the 3rd fabric I like to fold back the top fabric so that I can get to the seam and the 1/4″ mark. I start at the center and sew to the 1/4″ from the end.
The next seam is done in the same manner but this time I fold the bulk away from where I’m going to sew.
My good friend Paco Rich did a tutorial on Y seams and it is real easy to follow so here is the link to her blog. PJ’s Crafty Creations Easy Y seams. She will also soon be doing an other group project in the “Life’s a quilt” Facebook
