
JUne 25/19
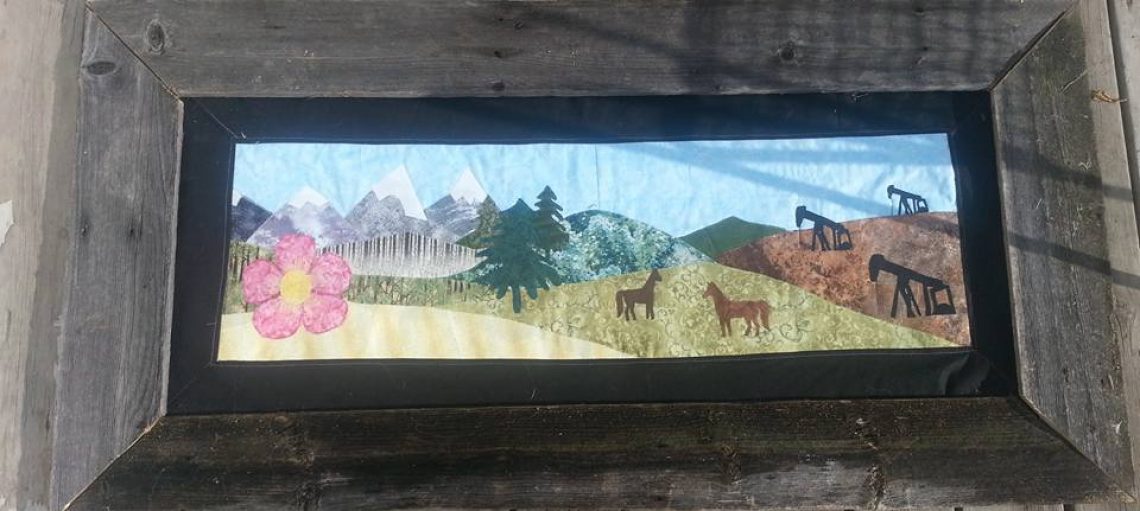
It is still raining here it seems that’s all its been doing since March.. This week I just want it to quit so I can keep my bus clean I guess there’s a upside of it I won’t have to dust if the roads stay muddy. By the time you read this post I’ll already have finished my school year and my bus will be parked for the summer. I hope to get some camping in this summer.. My boys are in cadets and are both going to summer training for 3 weeks at the same time.. No Kids for 3 weeks… What will I do with myself? I’m pretty sure I will find something.. These are my boys Im so proud of them.


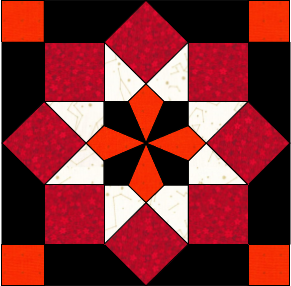
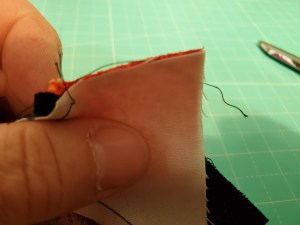
Now time for VS Block 6 this one is a bit more challenging not only does it use templates it also has some Y seams in order to get the block completed.When you cut the templates if you leave the fabric folded and place the template on top you are cutting the mirror image of each templates… I folded my fabric into 4 layers and cut 4 at a time so i only had to do this 2x in order to get all my pieces using only one template of each shape.
Were going to start with the center of this block and work our way out.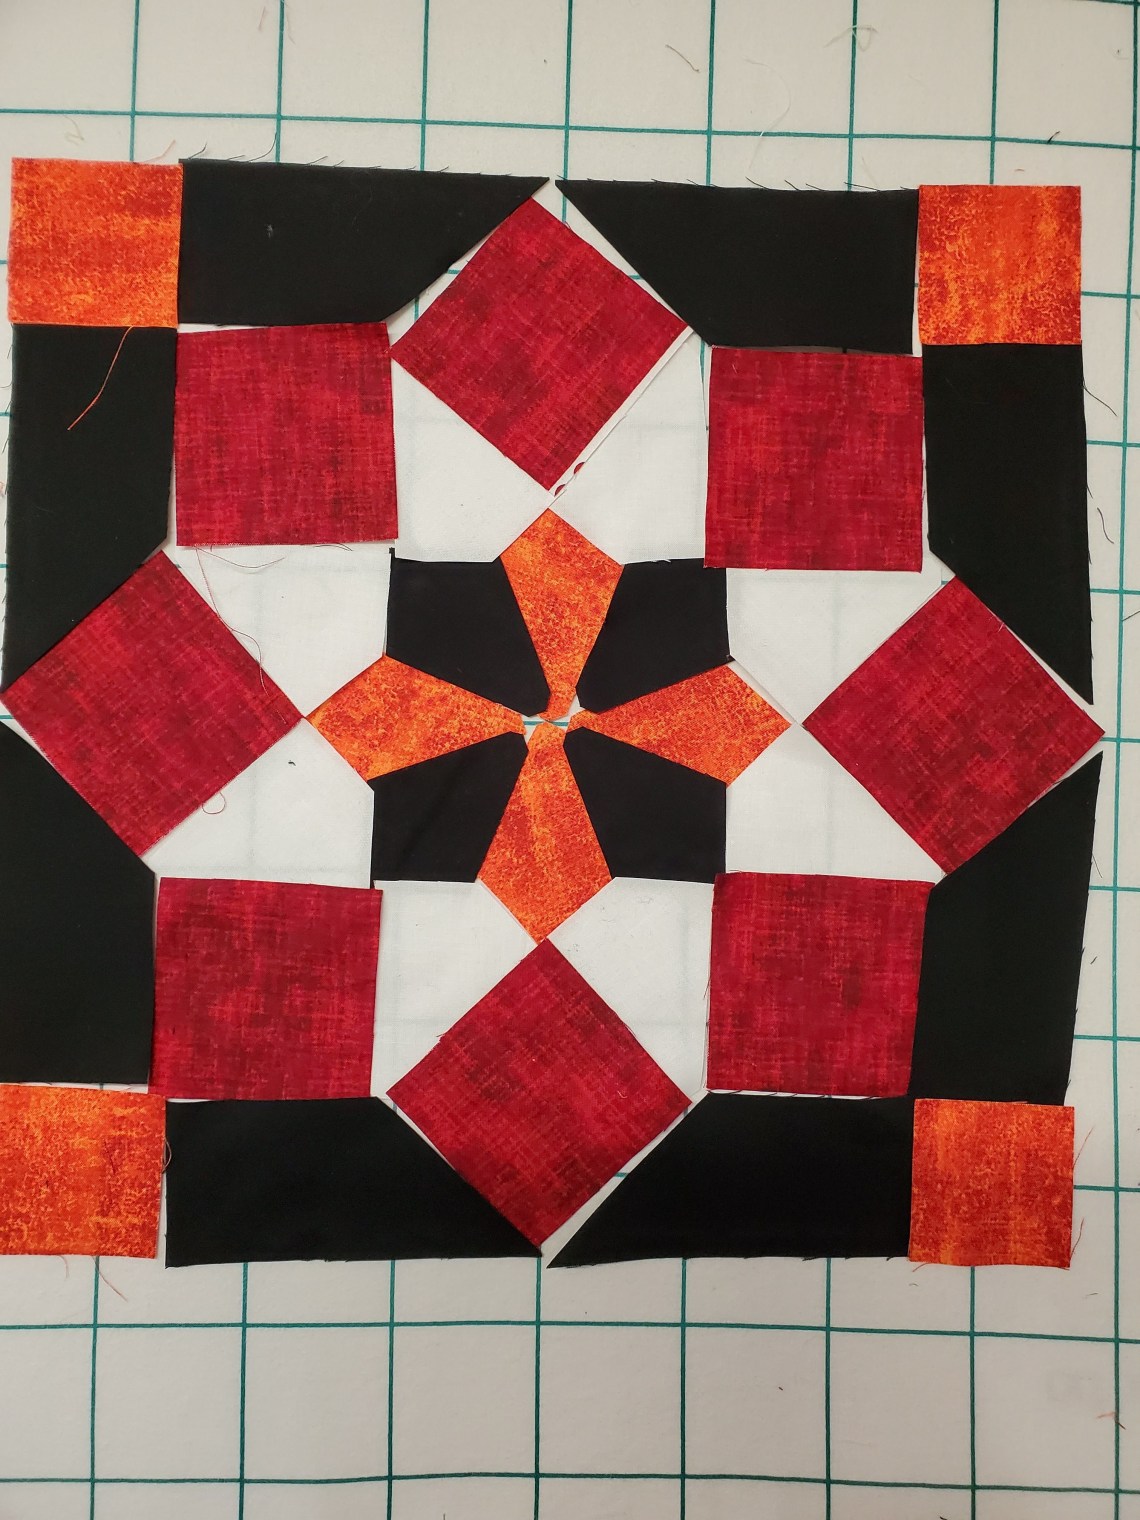
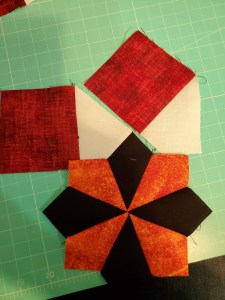
Center section. Were going to sew the right sides of the black to the orange. Be sure to leave 1/4″ at the wide part of the petal so that when doing the Y seams it will be simpler. Press to the blackNow join 2 sections to make 4 petals then join the halves use a pin to align the points. Pin on both sides of the T strait pin in the points . Press this last seam open to reduce bulk in the center. Return to design wall.


Next we will join one side of the white star piece to a red square. do this for all 8 star points. keave 1/4 of an inch at each point of the seam. Press to the red away from white in all cases as the shadow of the pressed seams will show through the white more than any of the other colors in the quilt.


When joining the next sections to the center line up the black to the white sew the seams will but up together if you pressed to the black. Sew as far as the seam the pivot the piece and continue sewing again when at the end of the seam leave 1/4″ place to joint the outer black portions.. the next section will have you sewing the red square to the sewn on white and you’ll continue to do this all the way around leave 1/4″ at each side if these seams.

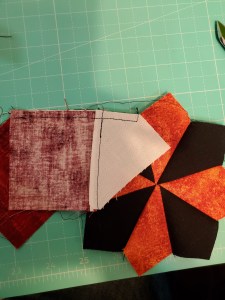


Next were going to join the orange corner squares to the black edge pieces only on one side. ok time to start joining the back outer border.. start with the pieces without the orange. this is done in the same fashion as the last seams..line up the corner of the 90 degree angle sew till you get to the seam pivot and continue. Do this to all the short pieces on both sides. Now sew the last 4 pieces onto the block.


Block complete.
With sashing pieces and the full progress layout so far. Before joining the rest of the blocksI will need to do the lower edge border triangles. this way I’ll be able to build the quilt without inset corners.. Hope you all having a great Canada Day Long Weekend.
