
I got up this morning at 5 am ( It’s Sunday June 23,2019) so I was able to complete this block before I had to go to my family event.. I’ve set up the release of these blocks so that I will not release more than one a day.. Keep in mind that things will get busy so i may not post each day but as I stated earlier it will be completed by March 2020.
VS Block 3 is pretty simple also later on we will see some blocks with Y seams inset angles and needing templates.
In this block I want to stress the importance of pinning to get those nice matching seams. and I’ll break it down for you in the last stages of the block assembly.
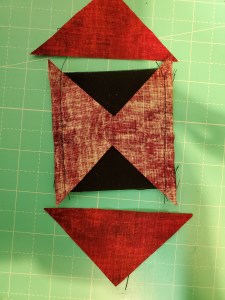
Ready here we go.. lay out your pieces on a design area and work from there.. if your looking to get moving the further the design wall is from your machine the more steps you will make in the duration of making the blocks as there is quite a bit of walking back and forth as you assemble the sections of the blocks.

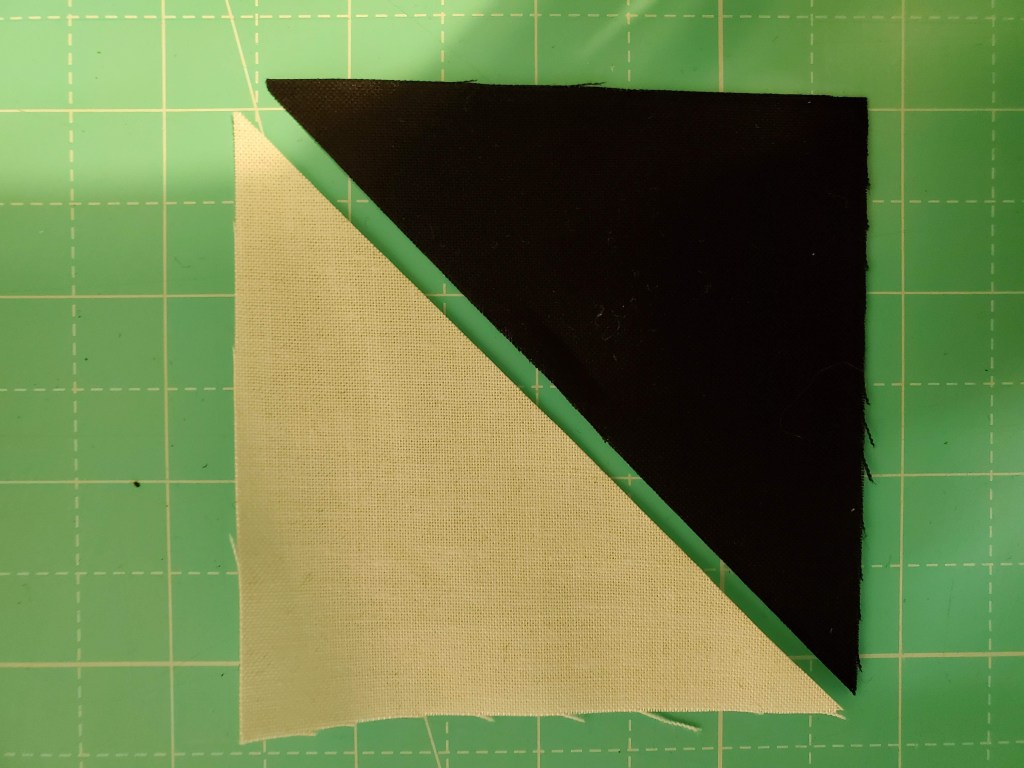
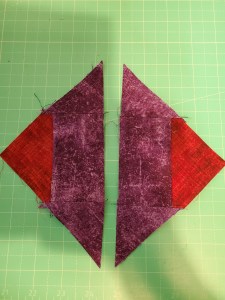
For this block I’m going to begin with the half square triangle squares in the outer edges.


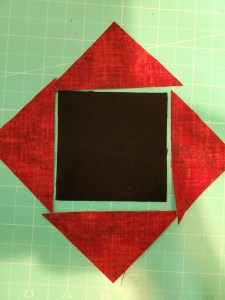
Next were going to assemble the square in the square in the center.

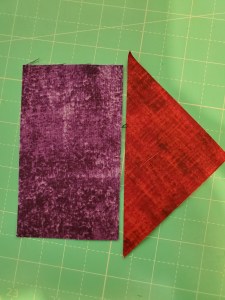
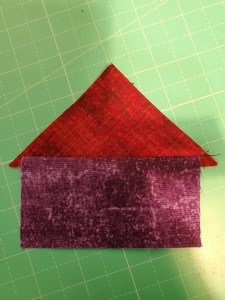
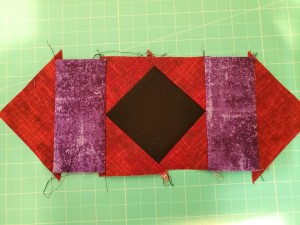
Now we’re going to sew together the corner pieces surrounding the center pieced block.

The next thing I did was sew together the outer rows 2 sides will have the corner squares. this is what we have completed so far on the design wall.
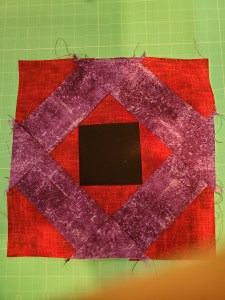
Now its time to piece all these sections together..


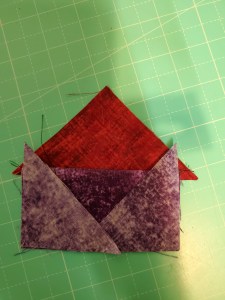
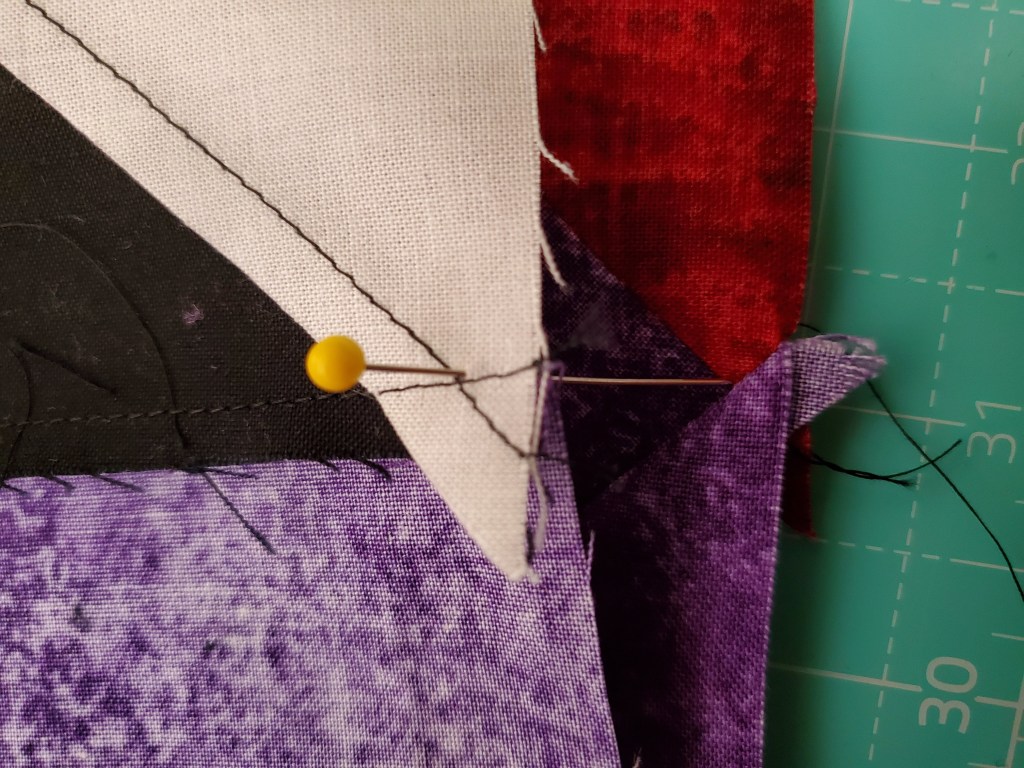
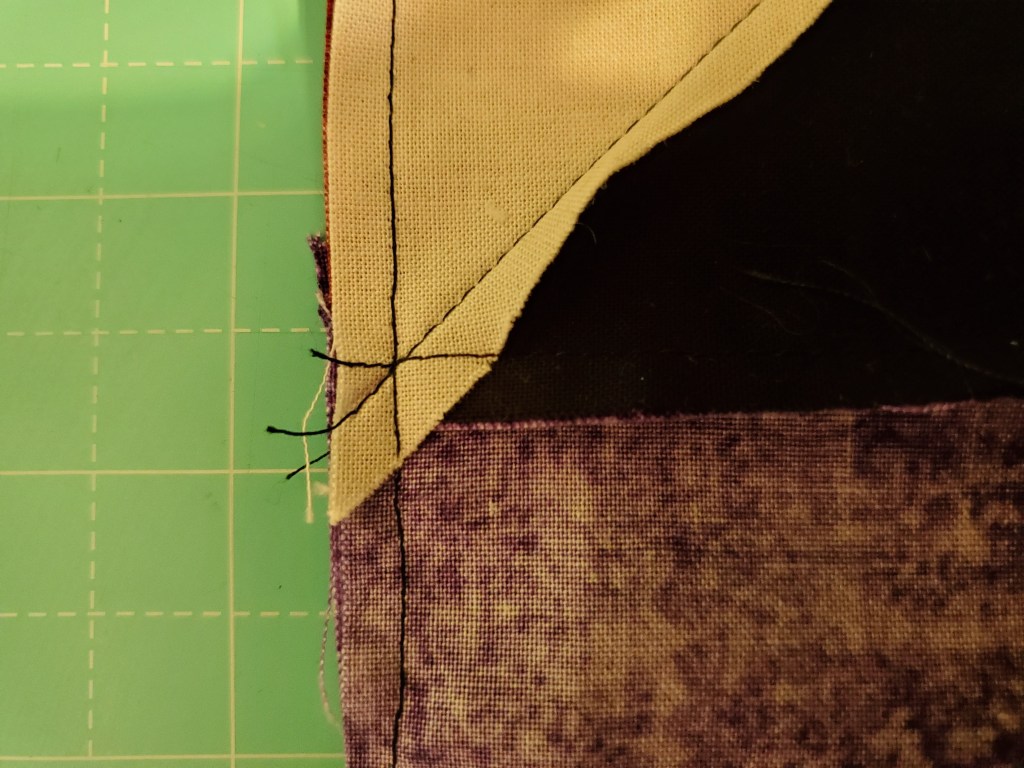
This is where the pinning is so important to get pointy and matching points.

I’ll break it down so you can see i hope. It’s important to keep the pin straight up and down as I found that if you try to insert the pin at the points will shift causing them not to align properly.

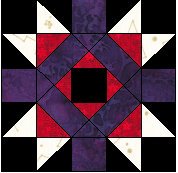
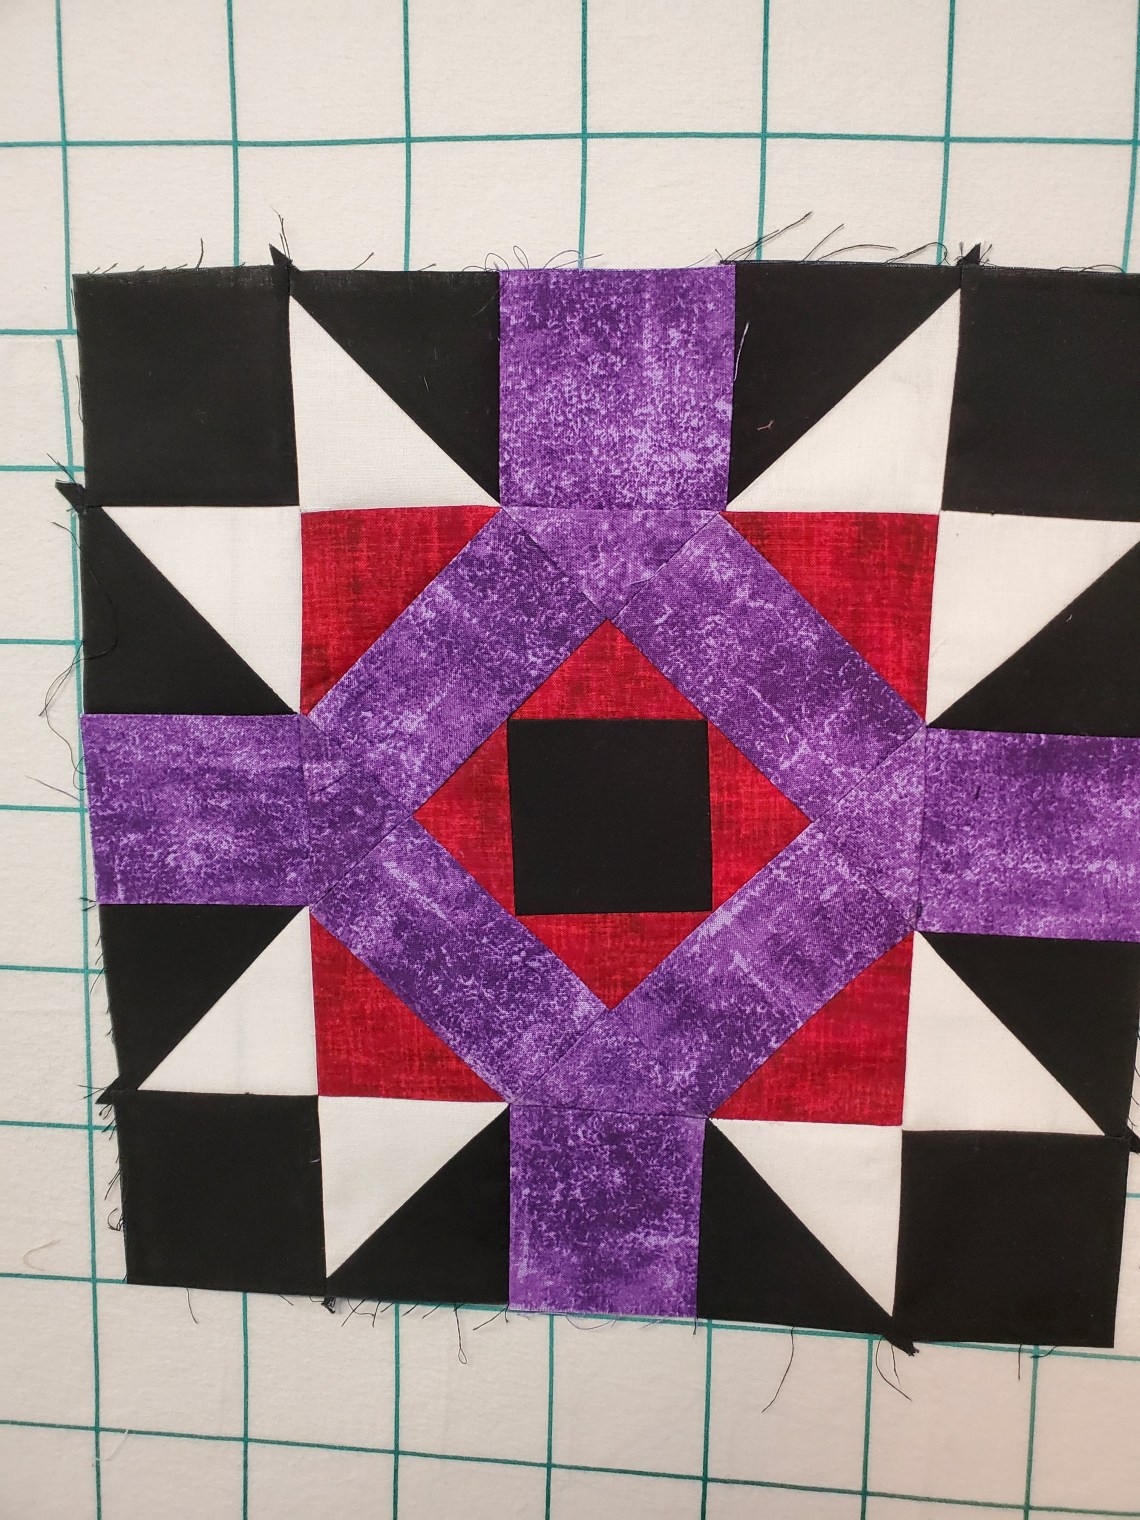
Here’s the finished block.
Again I’m adding in the sashings as I go along. Refer back to the previous post to get those measurements. Block 1, Block 2


If your making this with me I’d sure like to see your progress. You can add photos under the comments on my FB page or email them to me at chairo@telus.net
